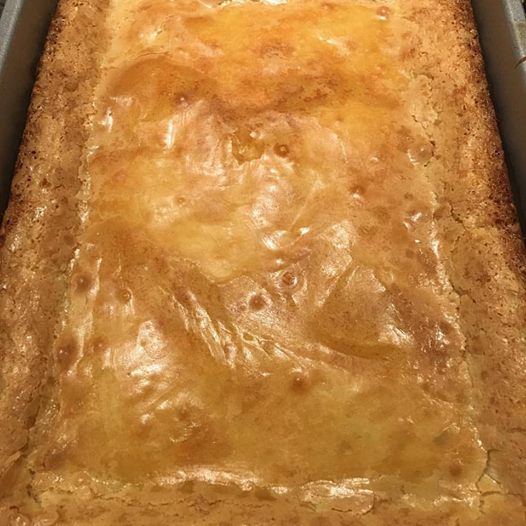
Banana Pudding Bars
So I thought and thought about a plan B and I came up with this gorgeous thing, a pan of banana pudding bars with an Anzac biscuit crust where the graham crackers (or whatever) would be!
I started with this recipe and made a few changes; details below:
Custard:
2 egg yolks
1/2 cup sugar
1 and 1/2 cups whole milk
3/4 cup heavy cream
1/8 teaspoon salt
3 tablespoons cornstarch
1 tablespoon unsalted butter
1 teaspoon vanilla extract
Crust:
1 and 1/2 cups Anzac biscuit crumbs
6 tablespoons unsalted butter, melted
1/8 teaspoon salt
2 Tbsp sugar (to taste)
Whipped cream:
1 cup heavy cream, cold
1/4 cup powdered sugar
1/4 teaspoon vanilla extract
2-3 bananas, sliced into coins
Anzac biscuit crumbs, for garnish
Method:
First of all, if you don't have a batch of sad Anzac biscuits, you can substitue any decent cookie crumb. The original recipe used vanilla wafers but I bet graham crackers or ginger snaps or even sugar cookies blitzed up would be super yummy here.
You want to do the custard first because it has to chill in the fridge before you assemble the thing. So. Whisk together the egg yolks and sugar in a bowl until they're combined. Mine looked clumpy and still worked a treat so don't stress if that's what's happening to you. Put the milk, cream, cornstarch and salt in a saucepan and whisk it over medium heat until it starts to simmer (gentle bubbles). Here's a tricky bit...you want to pour the milk mixture into the yolk/sugar mixture but if you just dump it in the heat from the milk will scramble the egg and that is no good. SO...hold the pot in your left hand and a whisk in the right and dribble in maybe a teaspoon at a time while you whisk whisk whisk to keep the eggs from cooking in the hot milk. It'll be difficult to whisk it at first because clumpy eggy goo, remember? But keep dribbling it in and stirring as best you can and eventually the mixture will loosen up. Once you've got all of the milk in your egg bowl and things are well combined, pour the whole lot back into your saucepan and keep whisking it over medium heat until it boils. Once it's boiling, let it boil away (keep whisking!) for a good 4 or 5 minutes to thicken it up and then take it off the heat. Pour the custard into a heatproof bowl and cover with plastic wrap, making sure to push the wrap down over the top of the custard so it doesn't form a skin. Stick it in the fridge for an hour to chill. Step one completed!
Next, preheat your oven to 350. Spray an 8x8 pan with cooking spray or line it with parchment or whatever you like. Put your Anzacs or vanilla wafers or grahams or whatever into a food processor and blitz it up until you have a nice fine crumb. Dump it all into a mixing bowl and add the melted butter and salt. I tasted mine and ended up adding a little sugar to counteract the bitterness of the burnt bits, but if your crust tastes good to you, go ahead and leave that sugar out. Stir it together until well-mixed and sticky, then press into your prepared pan and bake it for 10 minutes in your preheated oven. Take it out and cool on the counter for a few minutes before sticking it in the fridge. Step two is a distant memory!
Whipping cream time! This is way easier with a mixer but if you are into working your biceps like mad (get those Popeye arms!) you can do it with a plain ol' whisk. Put the heavy cream, sugar and vanilla extract in a bowl and whip whip whip the heck out of it until you have soft peaks. You can go a little further and make yourself a cream that sets a little firmer on the bars, but there's absolutely nothing wrong with a nice, gloppy, soft whipped cream, so quit when it looks like something you'd be happy to take a spoon to. Stick the bowl in the fridge until you're ready to assemble the thing. Step three is toast!
Assembly is just as easy as you might imagine. Once the custard is 100% cool, spread half of it over your crust and cover it with a layer of banana slices, then do those two steps again, so you have crust, custard, banana, custard, banana. Top the whole shebang with that sweet whipped cream (give it a little fancy looking swoop with your spatula!) and stick the whole pan back in the fridge for at least an hour. I mean, or don't. Feel free to stand at your kitchen counter and attack this thing with a fork if it makes you happy (and it will). You're an adult and you get to make choices! But if you want to be able to cut it into slices that'll hold together, give it that chilling time. It's fun to have things to look forward to.
Final step: eat and enjoy! Maybe top with a little extra crumb if you're feeling fancy. After all, you did singlehandedly save an entire batch of burnt Anzac biscuits from the perils of the trash bin. I think you've earned it. ✦


Comments
Post a Comment